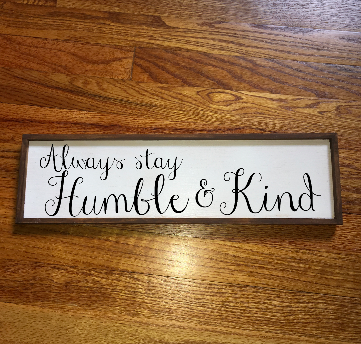
Cutting up the wood, sanding, and putting together the sign is too time-consuming in my opinion, so I found some great deals on some already assembled signs. This was my first attempt at a sign like this. I am really happy with the results from using these supplies, so I decided to share how I did it. If anyone has anything else they found that is cheaper/easier feel free to comment. 🙂
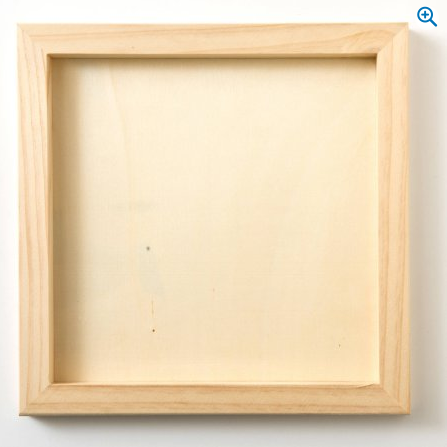
Wooden Sign is from Micheals. Regular price is $4.39.
They have 9″ x 9″ Wooden Squares for $2.49.
Larger 12″ x 8.07″ Signs for $5.49.
The back side of Plaid Wood Canvas can be used
They can be found at Plaid Wood Surfaces, Canvas Panel, size: 10″ x 10″ – Walmart.com![]() or Amazon for $4.97
or Amazon for $4.97
If you really don’t want to do a lot of work. You can buy these prestained and painted from Hobby Lobby for only 12.99 regular price.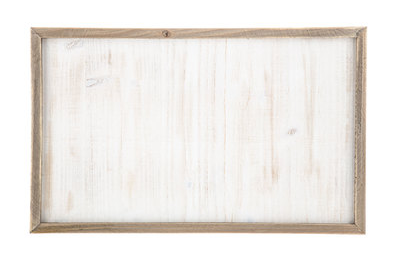
Stain for Frame
I think wax paint is much easier to use than stain and less stinky. : ) If you want a lighter color you can put less on. I used painters tape and taped off the middle part first. I used an X-acto knife and lightly pressed it into the creases and gently sliced any extra off.
The one is used was Waverly Inspirations 2oz Chalk![]() the Color was Antique. They also have a wax paint in antique on Amazon.
the Color was Antique. They also have a wax paint in antique on Amazon.
White Background
I removed taped off the area that I painted with the wax paint and sprayed Krylon Semi-Gloss White Spray paint until the surface was fully covered. It dried really quick about 15 minutes. (This spray paint was on sale at Michaels which was the only reason I picked it. I am not sure if some work better than others.)
Words
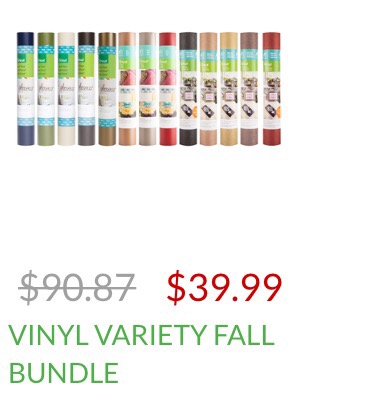
I cut out vinyl letters using my Cricut.
Thanks for reading! If you liked this post you might also like my supplier’s list for cheap Cricut, cameo, and silhouette supplies. Visit that here and click here for a list of my favorites all free for business and commercial use.
If you would like to join my group Pinterest board “Cricut Crafts Tips and Tricks Group Board” click here to follow it and then send me a message on Pinterest and I can make you a collaborator.
Happy Crafting. 🙂


